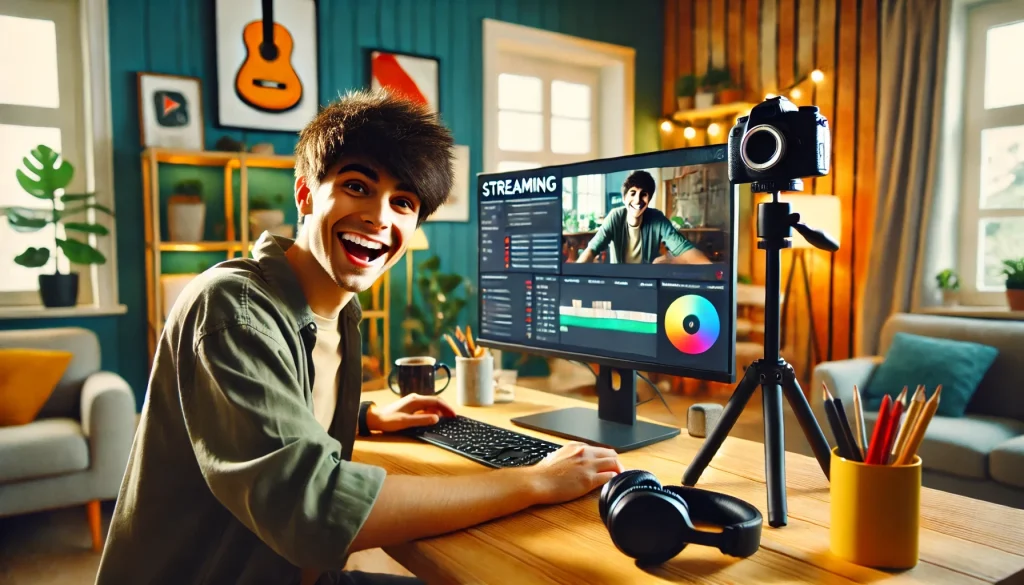
Getting started with streaming can seem daunting, but with the right setup and guidance, you can be up and running quickly. Here’s a step-by-step guide for beginners on how to start streaming using Sprintty, focusing on the necessary equipment and software.
1. Choose the Right Computer
For streaming, you need a computer with sufficient power to handle video encoding and broadcasting:
- Windows PC or Mac: Both are suitable as long as they meet the following specifications.
Specifications:
- Processor: Intel i5 or higher / AMD Ryzen 3 (3100) or higher.
- RAM: At least 8GB
- Graphics Card: Dedicated GPU (e.g., NVIDIA GeForce GTX 1050 or better)
- Internet Connection: Stable with at least 5 Mbps upload speed (the more the better)
For streaming, certain Macs are well-suited:
- MacBook Pro: Models from 2018 and newer with Intel i5/i7 or M1/M2 chips.
- iMac: 2019 and newer with Intel i5/i7/i9 or M1/M2 chips.
- Mac Mini: 2020 and newer with M1/M2 chips.
Graphics Processing Unit (GPU): While a dedicated external GPU (eGPU) can enhance performance, especially for high-quality streaming, many newer Macs with integrated GPUs (especially those with Apple’s M1/M2 chips) are sufficient for HD streaming tasks.
By following these recommendations, you can ensure your Mac is capable of handling streaming efficiently, but be aware that newer models will make your experience much smoother.
2. Select Your Camera
Depending on your needs and budget, you can choose between a built-in or an external camera:
- Built-in Camera: Adequate for basic streaming. (present in most of the laptops, good for interview, podcast, and blogging format)
Budget-Friendly Alternatives:
- Canon Vixia HF R800: Affordable and capable of recording 1080p video, suitable for capturing events.
- Sony HDR-CX405: A compact camcorder with 1080p recording and a good zoom range, ideal for various events.
- Panasonic HC-V770: Offers full HD recording and good low-light performance, making it a solid choice for event streaming.
Higher-End Cameras:
- Canon EOS M50: A versatile mirrorless camera with excellent video quality, ideal for various events.
- Sony Alpha a6400: High-quality 4K video and excellent autofocus, perfect for dynamic scenes.
- Panasonic Lumix GH5: Known for its superior video capabilities, suitable for professional event coverage.
These options cater to different budget levels and needs, helping you choose the best camera for your streaming setup. Best for catching the fire of your events or to record your content.
How to send footage to PC/MAC?
Before buying a camera, please make sure it’s capable of sending the data to your PC/MAC via cable HDMI, USB, or Wi-Fi, try to avoid Bluetooth.
3. Set Up Your Streaming Software
OBS (Open Broadcaster Software) is a popular novice choice for streaming due to its flexibility, range of features, and easy-to-use interface. Here’s how to set it up:
Step-by-Step OBS Setup
- Download and Install OBS: Download OBS
- Initial Setup:
- Open OBS and go through the auto-configuration wizard.
- Select “Optimize for streaming” when prompted.
- Add Sources:
- Click on the “+” button in the “Sources” box.
- Add a “Video Capture Device” for your camera.
- Add an “Audio Input Capture” for your microphone.
- Configure Settings:
- Go to “Settings” and adjust the following:
- Output: Set the video bitrate to 3500-5000 Kbps.
- Video: Set the base (canvas) resolution to 1920×1080 and output (scaled) resolution to 1280×720 or 1920×1080.
- Stream: Choose the server and enter your stream key from Sprintty.
- Go to “Settings” and adjust the following:
- Start Streaming:
- Click “Start Streaming” in OBS to begin your broadcast.
4. Create and Manage Your Stream on Sprintty
Steps to Create a Stream on Sprintty
- Go to the “Streams” Section: Access this from the left menu in your Sprintty dashboard.
- Click “Create Stream”: Fill in the required details:
- Title: Name your stream.
- Description: Provide a brief overview (optional).
- Set Schedule: Choose the start time and date for your stream.
- Broadcast Settings:
- Get Stream URL and Key: Copy these into OBS.
- Add Cameras: Add multiple camera feeds if needed.
- Start Your Stream: Once everything is set, click “Start” to go live.
Conclusion
By following these steps, you’ll be well on your way to starting your first stream on Sprintty. Ensure your equipment is up to standard, configure OBS properly, and utilize Sprintty’s features to manage and monetize your content effectively. For more detailed instructions, visit our help section.
Want to know more about how Sprintty.com can help you launch your own streaming service with ease and increase revenue from your video and Live streams? Contact us: hello@sprintty.com